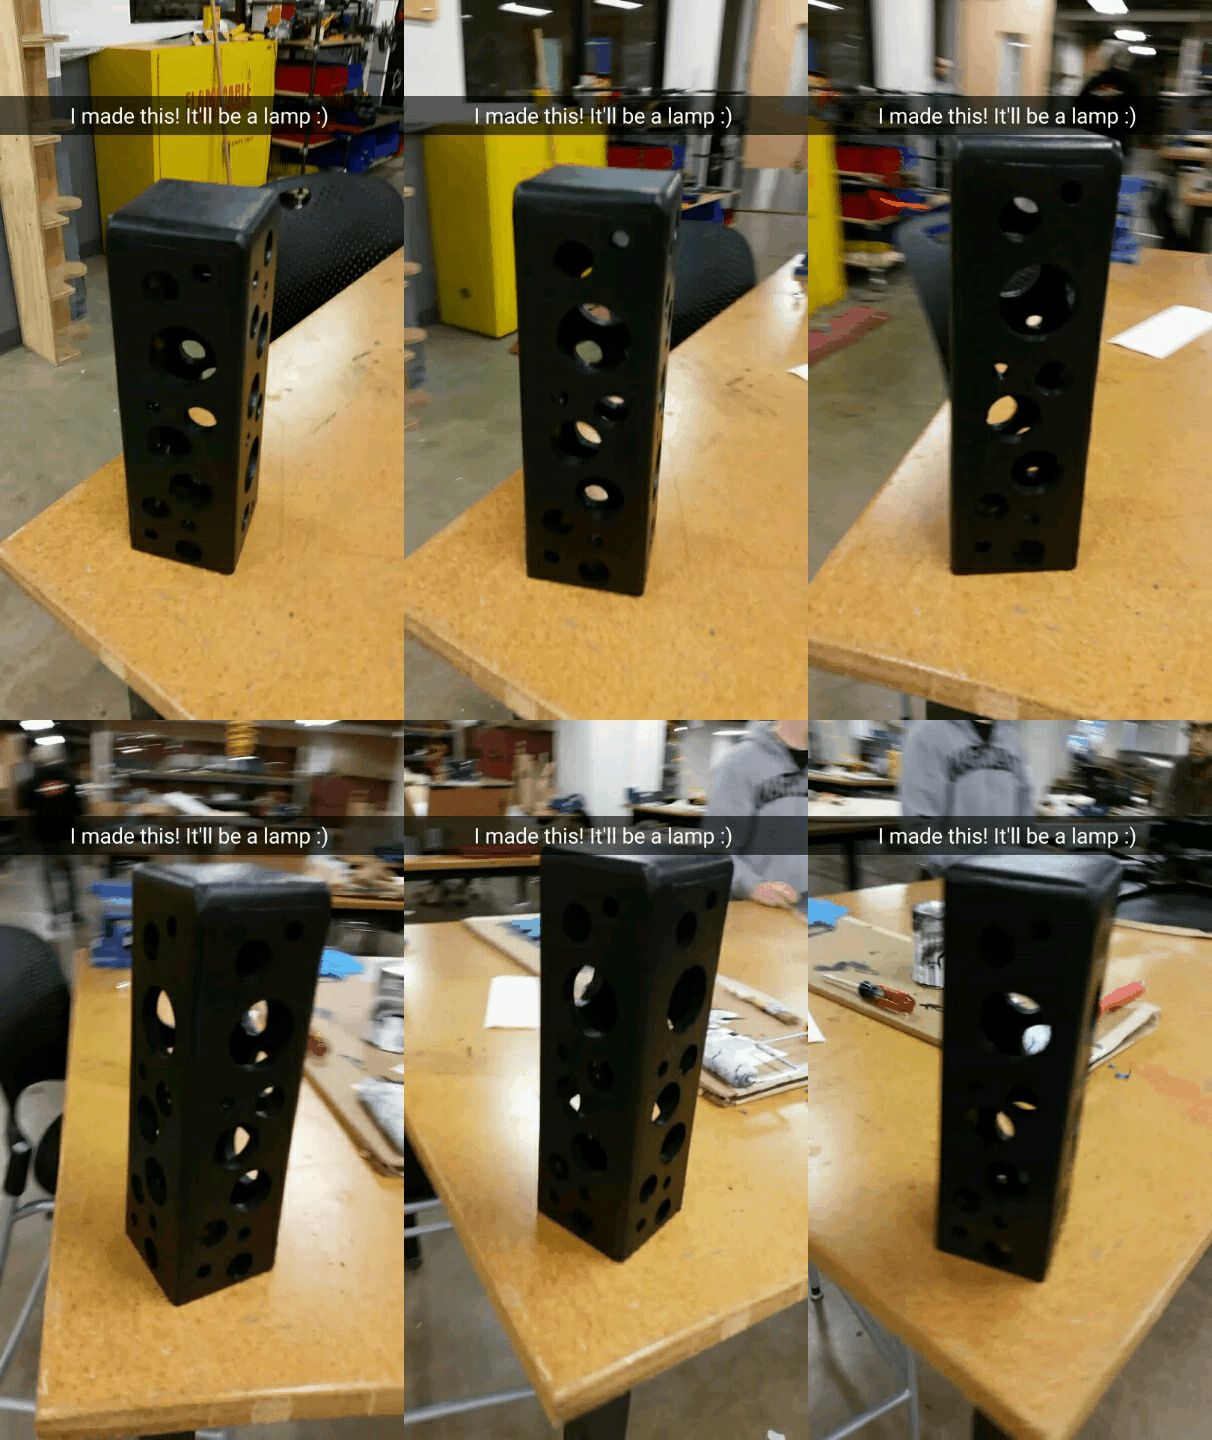
It’s my first hardware creation! But certainly not my last bubble-themed one :)
Bubble Lamp Alpha
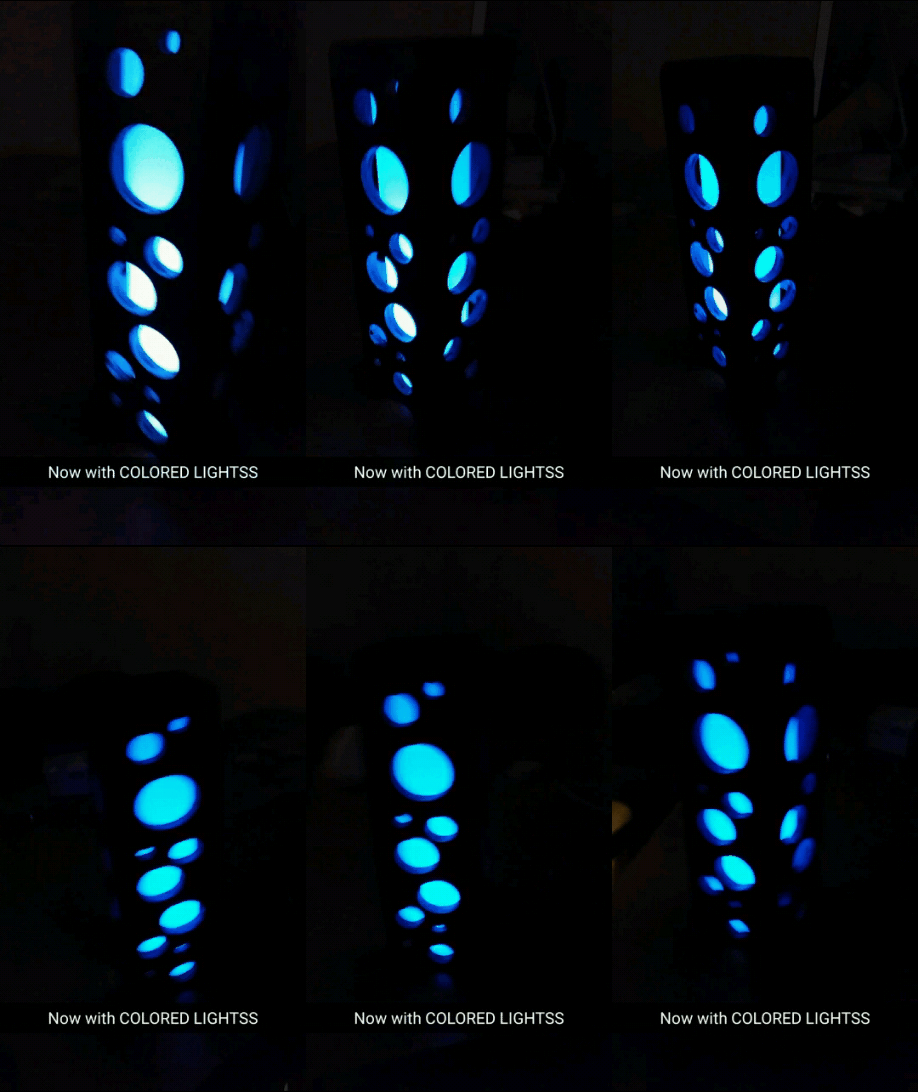
My “Bubble Lamp Alpha” is my first full TechShop project! It’s a small, black, wooden table lamp with LED-backlit bubble-shaped holes. It’s made of 4 panels; it’s 4 inches wide by 12 inches tall. The panels are joined with a butt joint: wood glue and nails. Each panel has many bubble-holes of various sizes, cut with the ShopBot CNC machine. Behind each bubble-hole is diffusion paper, lit up from the inside with a remote-controlled LED lamp. It looks pretty sweet backlit (insidelit?) with blue, red, or purple.


Construction Details
The rest of this post may only be interesting to someone who ~really~ wants to know how it was made. It describes how a person (who is not an entire factory) made a bubble lamp.
I used a lot of resources at the TechShop in Crystal City VA, right outside of DC, on the metro. Notably, their CAD softwares AutoCad and VCarve, their ShopBot CNC machine (wood), and their woodshop tools (cutting tools, sanding tools, nailgun, clamps, etc).
My original design was for a 6 foot tall lamp, but I decided that was too ambitious for a first project. I’m not experienced enough with hardware to predict what things could go wrong, so I expected I would make quite a few mistakes. I decided to do something 1/6 the size, a table lamp, and build in a lot of redundancy along the way.
CAD Preparation Work
I wanted to have the computer do super-accurate circular cuts for me. How would I draw out my design so the computer could cut it?
AutoCAD (or Illustrator) software => VCarve software => ShopBot machine
Vector Drawing or CAD software => CAD/Vector to CNC software => CNC Machine
.svg file => .crv file => .sbp file
I did my designs with AutoCAD, which TechShop provides for members for free. I learned how to use it by watching youtube videos on double-speed. I love its command pallete! I can just think “I WANT A RECTANGLE” and type that, and it does what I want :D
I first started with InkScape (which is like an open source, free Illustrator), and made some panels there. But it’s hard to use. It’s a weird linux app that uses XQuartz, which is a little laggy. And you have to use the control button on OS X for things that usually use the command button.
A lot of people like Illustrator for vector drawing, but it’s just expensive. Also, some people told me to just use SketchUp (free), and it’s probably lovely software too.
ShopBot CNC
Operating the machine was tricky! It had been a month since I took the class. The UI is the lolz.
- The interface is the lolz
- There is a random radio button that changes how everything works, but the interface barely changes to reflect that. “Preview Mode” is not what I wanted most of the time, oof.
- To move the machine at all I found the “KEYBOARD MOVEMENT” button under a menu called “CUT” (even though I wasn’t cutting).
- preview mode looked like it would cut off of the table. I had the y axis negative but it needed to be positive (or the other way around?)
- File Format Problem
- When I did an “air cut” to make sure the file was loaded properly, the drill didn’t spin!
- turns out I’d exported the wrong file type. We need one that includes drill rotation speed.
- When I did an “air cut” to make sure the file was loaded properly, the drill didn’t spin!
- Slow / too ambitious
- Surprise! It can take forever to cut a design.
- It has to do each cut multiple times, shaving off .25” of the material each run-through.
- I could only cut 5 of the 10 I had planned to do in my 3 hour time slot.
- Surprise! It can take forever to cut a design.
Woodshop Tools
Now that I have some panels, how should I put them together? I’ve got extra .5” plywood I can use to prototype joints with.
Joining
I tried:
- pocket holes
- we even had the right adapter (and kraig screws) for .5” wood! :D
- but the material is just too thin, the screw barely held it together. It broke upon picking it up haha.
- miter cut
- the part of the wood we needed to cut was 12”, taller than the table saw blade could do.
- tried it on smaller wood anyway, but our cut wasn’t exactly 45 degrees, so it wouldn’t work (apparently this always happens with miter cuts)
- butt joint, with glue and nails (winner!)
- either of the others would have been stronger joints, but surprisingly the strength of this is sufficient.
- two panels were 4” and two were 3”, so in total the whole thing was 4” by 4” square
- glue and clamp together the panels to make the shape
- nailgun them together so they hold better
Smoothing
- wood filler to fill the (pretty shallow) nail holes, let it dry
- make the surfaces flat with the belt sander
- round the edges with the belt sander
Painting
- black paint
- paint roller and paint brush
Light Panels
- light diffusion paper
- thought I’d need to glue 4 panes to the inside of the thing
- tried a rolled up cylinder of the stuff for fun, and it actually looked great! less work, more fancy :)
- lights
- tried led “fairy lights” (christmas lights that look cuter) but they weren’t bright enough
- tried a led lightbulb alone, looked good enough
- tried a battery-powered remote-controlled led lamp. The colors are fantastic!
Future Work
I used skills from these three classes:
- Basic Woodshoop
- VCarve
- ShopBot CNC
A metal version of this lamp would probably take much less time to make, and look even more modern and beautiful.
I want to combine the skills from these classes to do something similar in metal:
- Basic Metalshop
- Tormach CNC
- Sand Blasting & Powder Coating
